Hi, Hadis here,
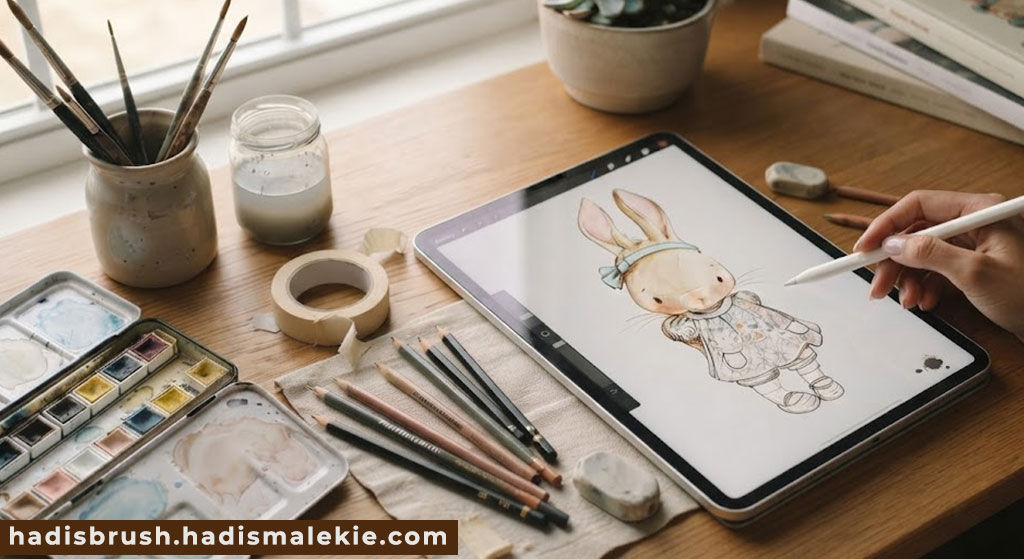
If you love easy cute painting tutorials and enjoy soft nostalgic illustrations by with digital devices, this project is one of my favorite ways to practice. I always liked artwork that feels like it came from an old children’s storybook, with warm colors, simple textures, and sweet little animal friends. It also became a fun exercise while learning How to use Procreate on iPad, because it combines sketching, watercolor-style brushes, and texture without feeling overwhelming.
If you are searching for cute painting ideas for beginners, this tutorial is a gentle place to start. Don’t worry about making everything perfect. Vintage illustrations actually become more charming when they keep a little handmade feeling.
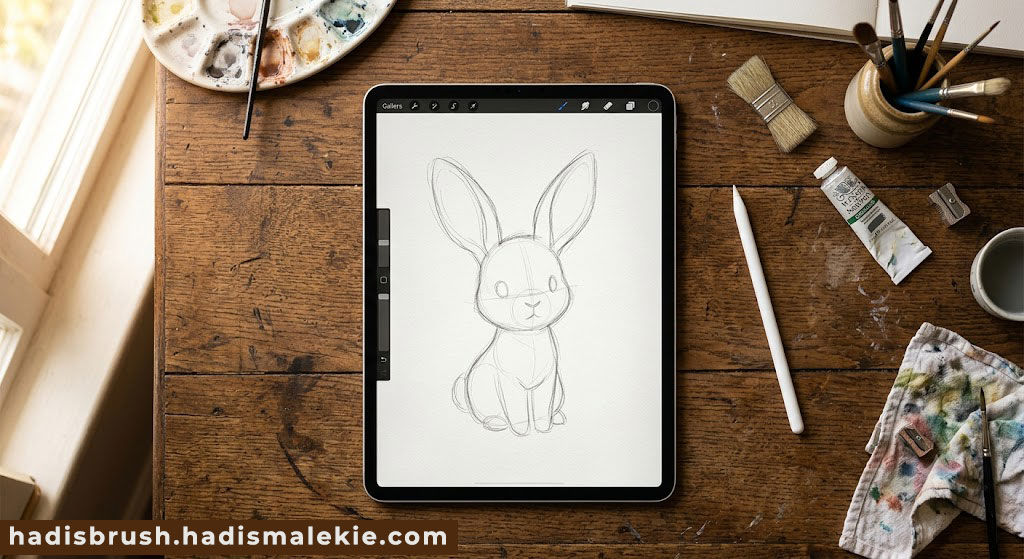
What You’ll Need
- iPad with Procreate
- Apple Pencil
- Textured watercolor canvas
- Pencil brush
- Soft watercolor brush
- Dry ink brush
- Texture brush
- Warm vintage color palette
- A reference photo (optional)
This is a wonderful beginner art project because you only need a few brushes and simple shapes.
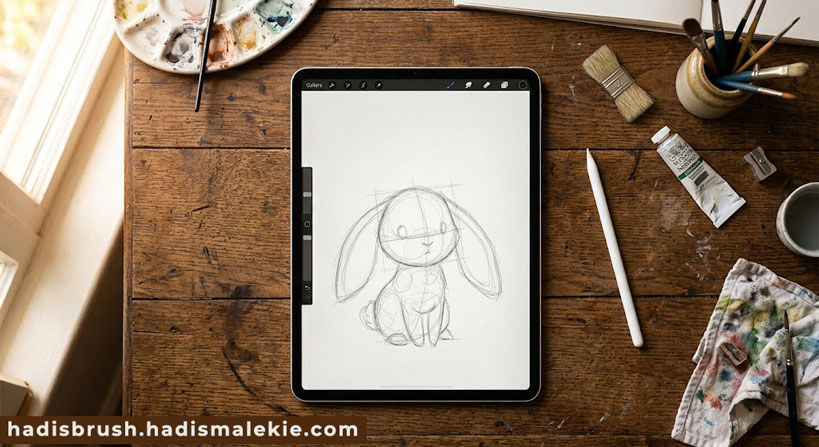
Step 1 — Choose Your Little Animal
I usually start by picking one simple animal. Rabbits, bears, foxes, ducks, or mice all work beautifully because their shapes are soft and expressive.
Instead of thinking about realistic anatomy, imagine a storybook character. Give the head a little more size than the body. Bigger heads immediately make characters feel cuter.
Many beginners try adding too many details first. I always remind myself to keep the silhouette simple.
Small tip:
Ask yourself,
“Would I recognize this character if it was completely black?”
If yes, your design is already working.
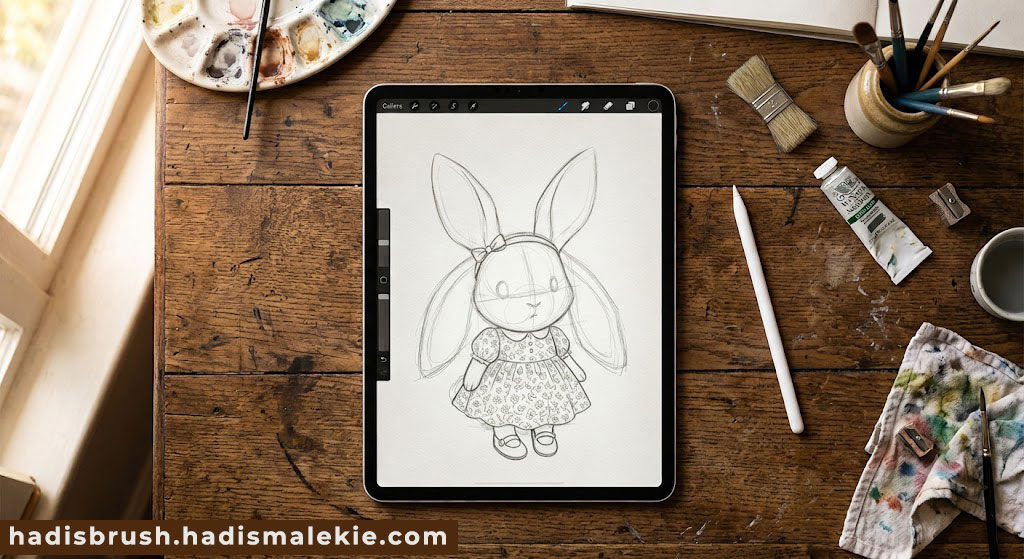
Step 2 — Refine the Sketch
Now I begin cleaning the drawing.
I soften the cheeks, adjust the ears, and make the eyes smaller than I first imagined. Tiny dot eyes often create that vintage children’s book feeling.
Don’t rush here.
This stage decides the personality.
A common beginner mistake is drawing every line with equal pressure. Instead, vary your pencil pressure. Soft lines feel more natural and easier to paint over later.
This is also where I begin thinking about clothing. A simple vintage dress, tiny shoes, or a ribbon instantly creates more character.
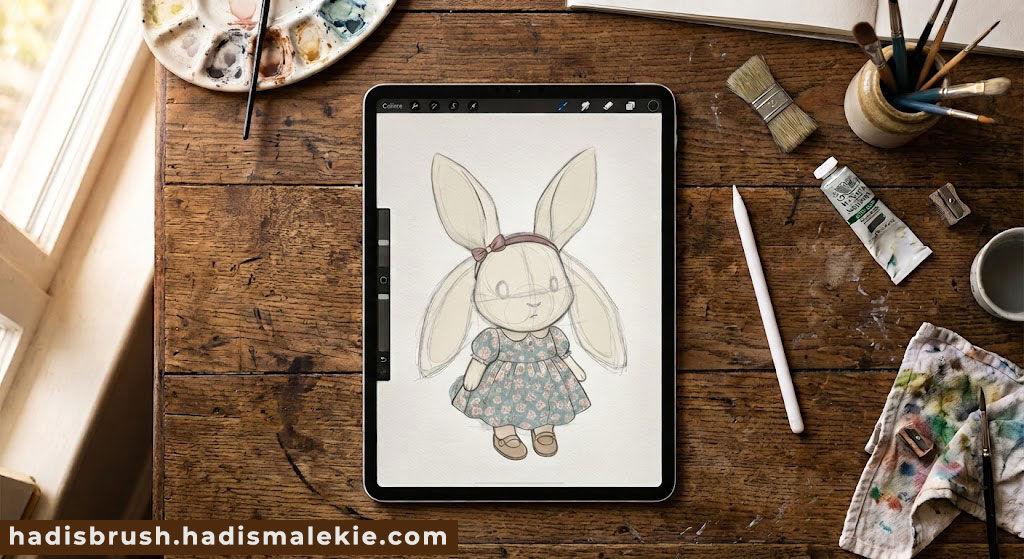
Step 3 — Add Flat Colors
Now comes my favorite part.
I create separate layers for:
- Fur
- Clothing
- Accessories
- Background
Using muted cream, dusty blue, faded green, soft pink, and warm brown helps achieve the vintage look.
Many people choose colors that are too bright.
Vintage illustrations usually feel quiet rather than loud.
If your colors seem modern, simply lower the saturation a little.
This simple adjustment changes everything.
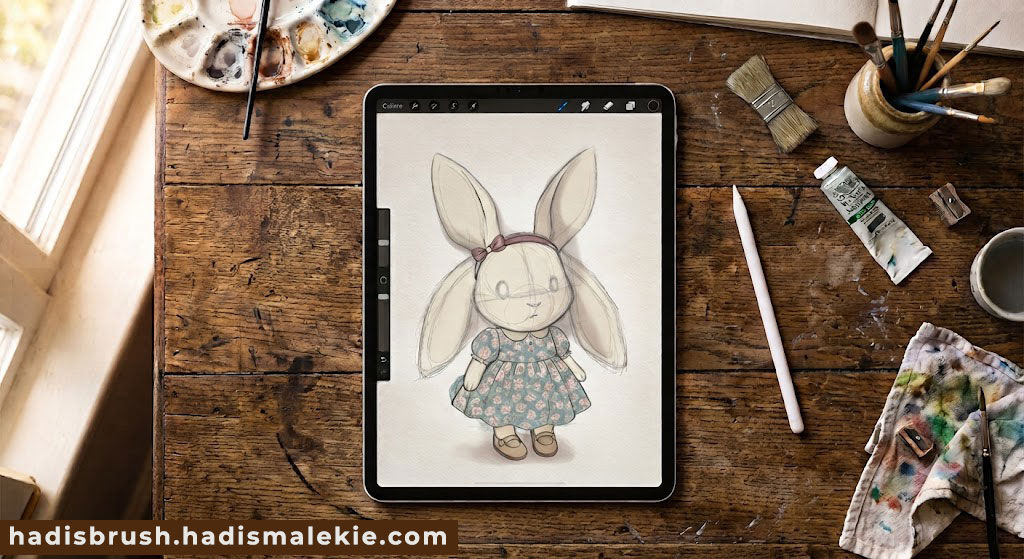
Step 4 — Build Gentle Shadows
Instead of dramatic shadows, I paint soft transparent layers.
Imagine light coming through an old window.
I add shadows under:
- the ears
- the chin
- the sleeves
- the dress folds
- between the legs
Soft watercolor brushes work wonderfully for this.
One mistake I made often was making shadows too dark.
Vintage artwork usually whispers instead of shouting.
Gentle values create warmth.
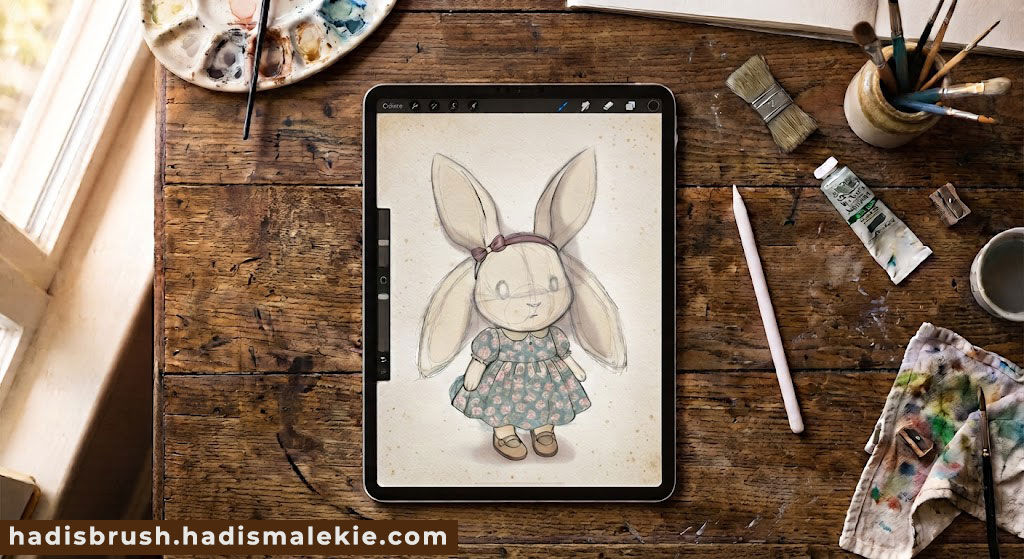
Step 5 — Add Vintage Texture
This step creates most of the nostalgic feeling.
I lightly brush paper texture across the illustration.
Then I add tiny speckles, slightly uneven edges, and subtle grain.
Don’t overdo it.
Texture should support the painting, not hide it.
This is one of my favorite art techniques because even simple illustrations suddenly feel handmade.
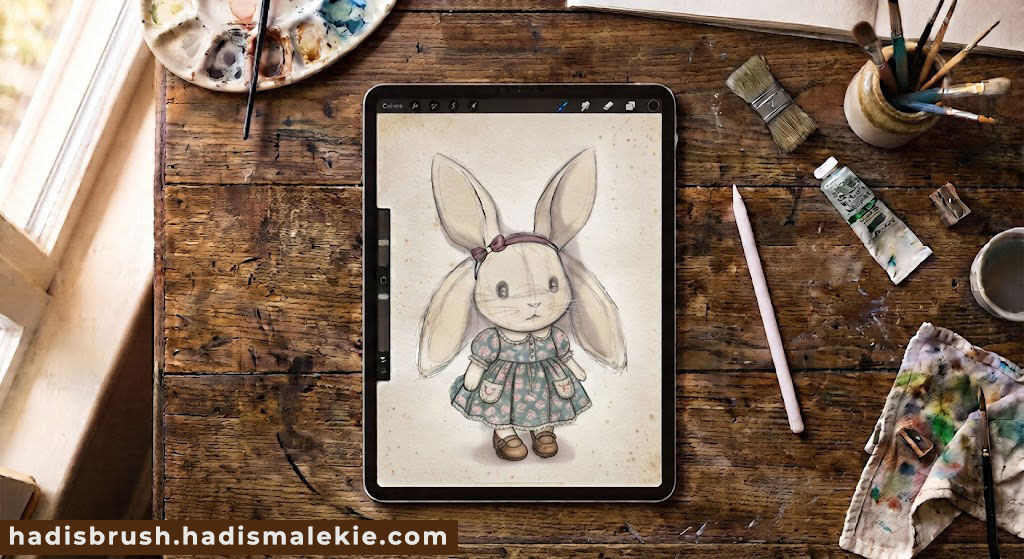
Step 6 — Paint Tiny Storytelling Details
Now I add the little things that make me smile.
Maybe tiny stitched pockets.
Maybe faded flowers.
Perhaps worn leather shoes.
These details tell a story without needing words.
A beginner mistake is adding decorations everywhere.
Instead, choose only a few meaningful details.
Negative space is also beautiful.
This is where the illustration begins to feel alive.
Step 7 — Finish with Soft Highlights
Finally, I add tiny highlights on the nose, eyes, ribbon, and shoes.
Not many.
Just enough.
Then I zoom out.
If something immediately catches my eye in a distracting way, I soften it.
Sometimes I even leave tiny imperfections because they make the painting feel more human.
That is one lesson I learned through regular creative practice.
Beautiful art doesn’t always need perfect lines.
Want to Go Further?
If you enjoyed creating these vintage-inspired animal characters, the next natural steps are to deepen your foundations. I always notice that when beginners improve fastest, it is usually because they start learning a few core subjects more intentionally, not just randomly practicing.
You might explore watercolor fundamentals, because even in Procreate, understanding how real watercolor behaves changes everything about how you paint digitally. Color theory is another big one — especially if you want that soft nostalgic feeling instead of harsh modern tones. And if you love storytelling, then character design and composition will help your animals feel like they truly belong in a little illustrated world.
Some artists also enjoy branching into botanical illustration or even perspective basics, especially when they start adding environments around their characters. These skills quietly support everything else, even if it doesn’t feel obvious at first.
From my experience, structured learning can save a lot of frustration. When I first started, I was jumping between random tutorials and guessing my way through. It was fun, but also slow. A well-designed class helps you understand why something works, not just how to copy it. That small difference often saves months of trial and error, because you stop fighting confusion and start building skills in a clearer order.
If you feel like your practice is ready for that next step, a structured Skillshare class can be a gentle way to continue. Not because you “need” it, but because it can make your learning feel more connected and less overwhelming.
🐰->Lisa Glanz , How To Create Vintage-Inspired Animal Characters in Procreate, see intro
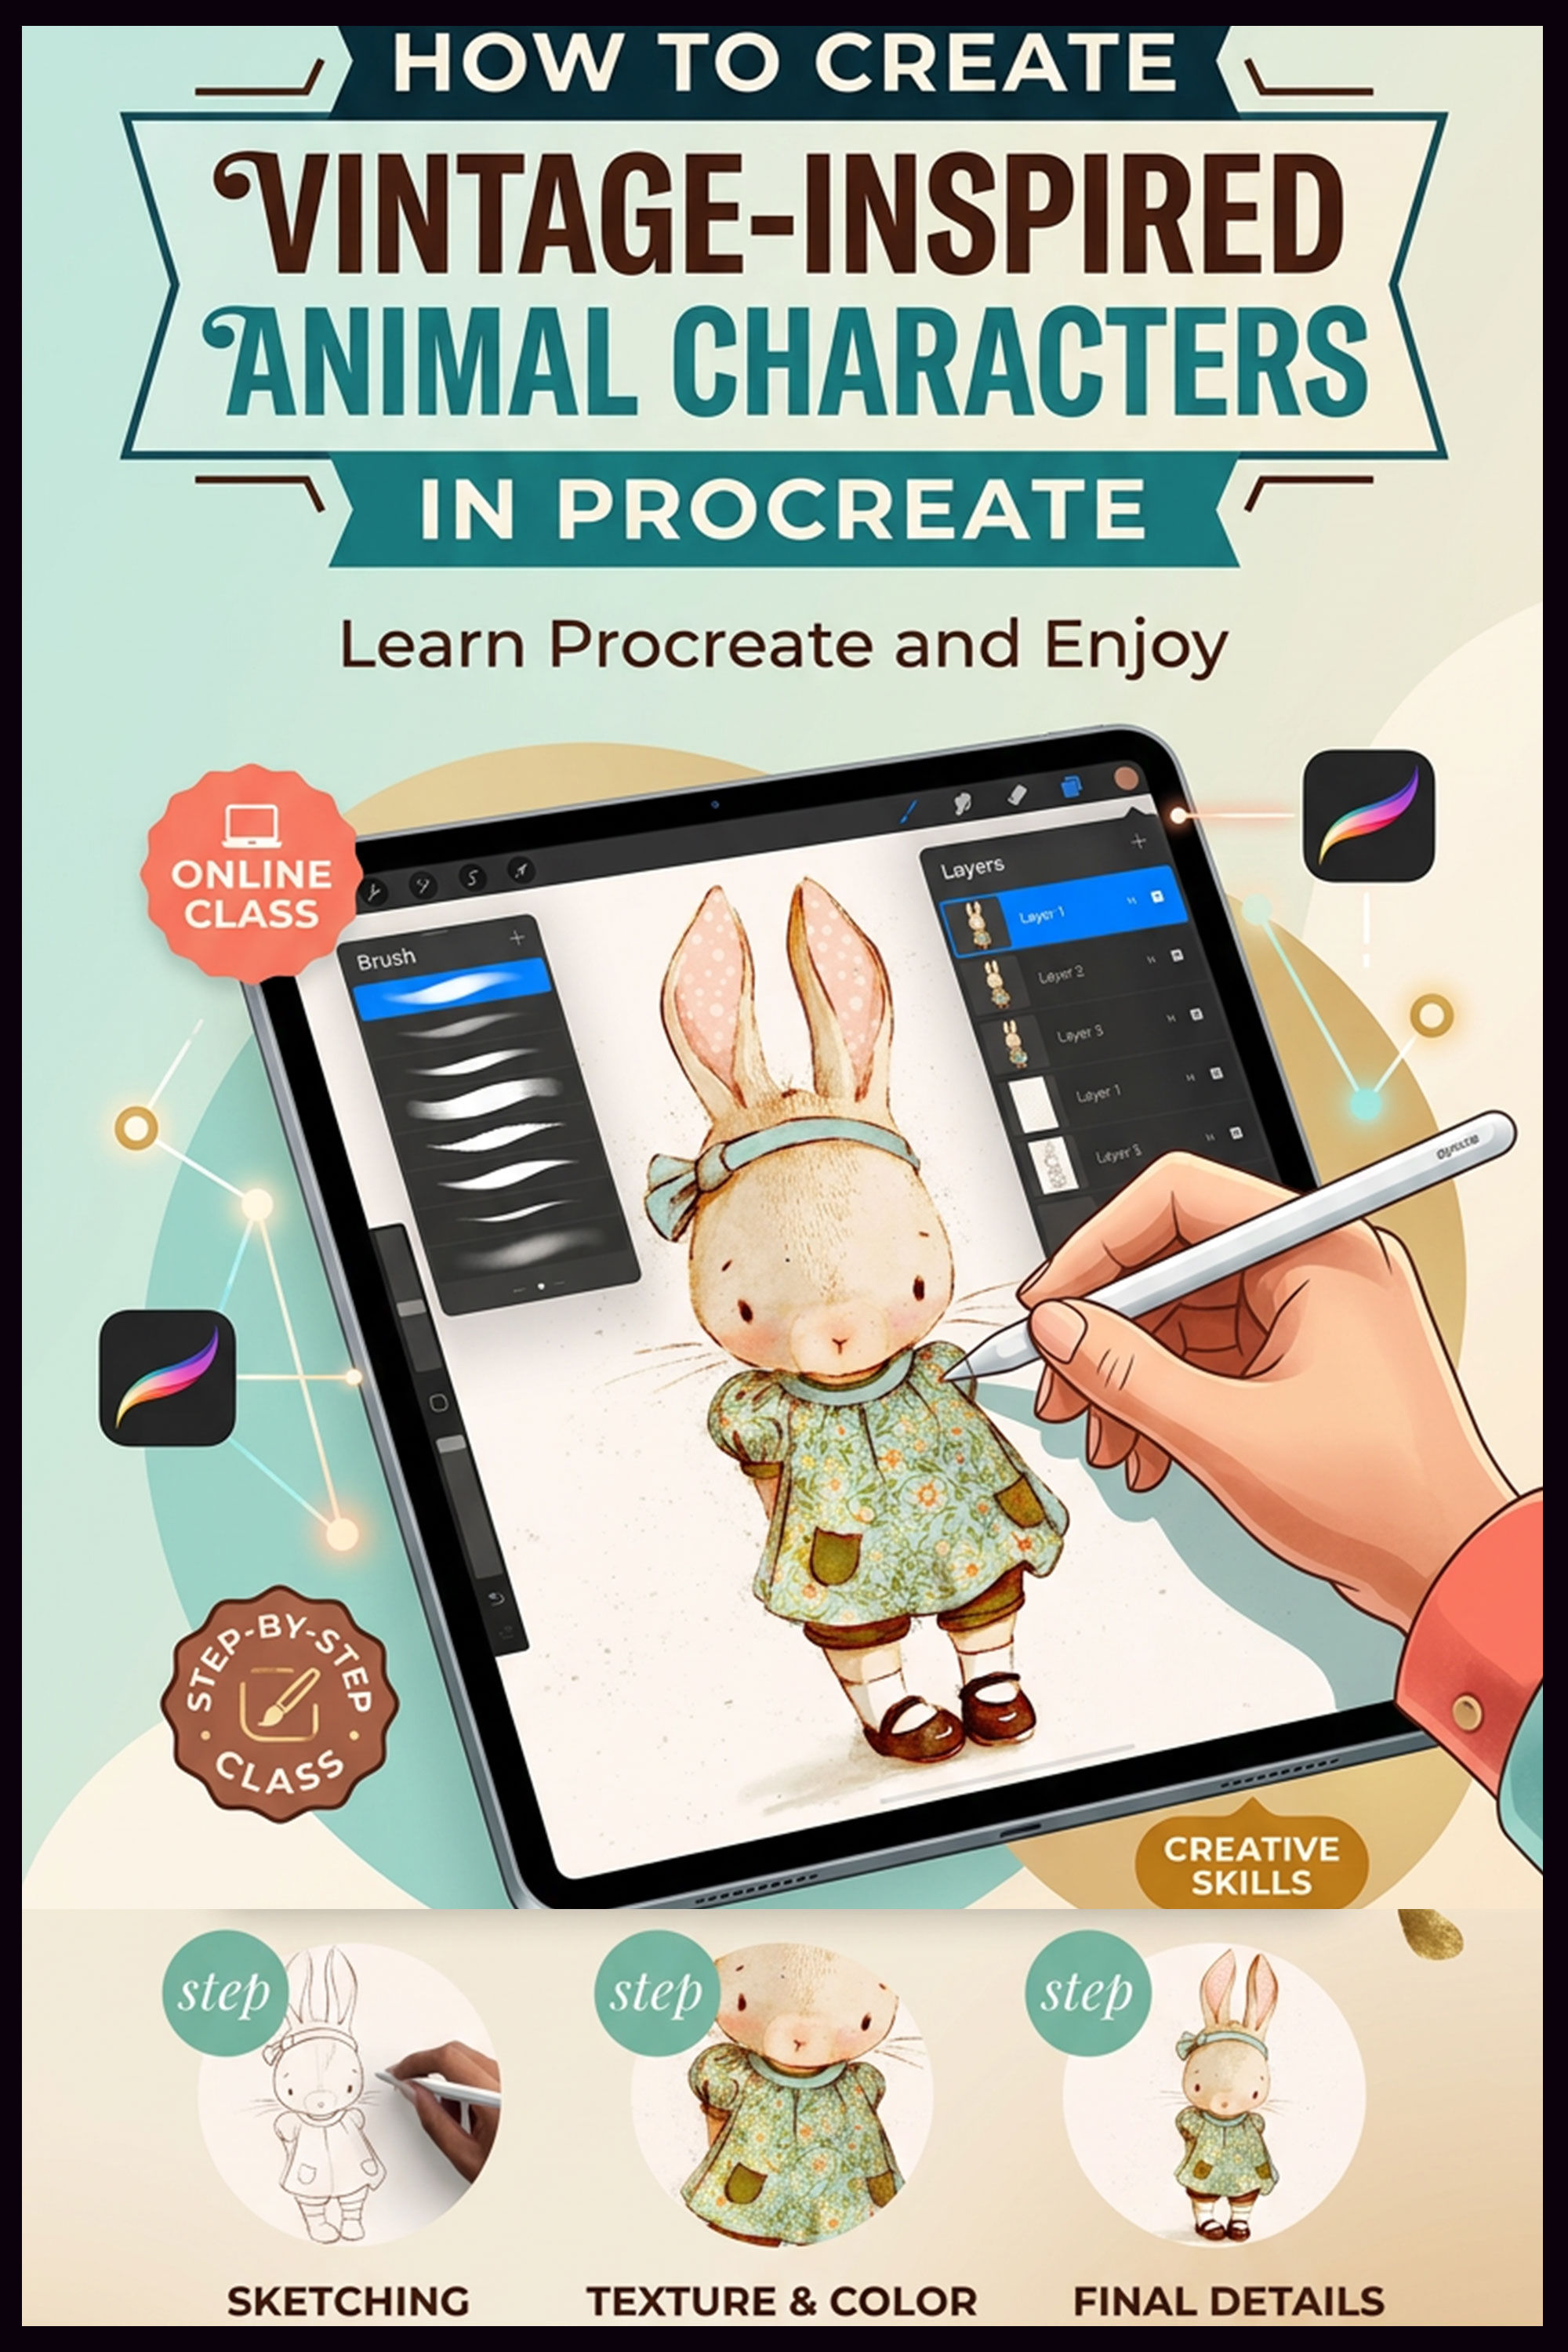
🐇This class can help, if you click on the link you can scroll down to watch the intro.
If this joy of creating your eyes, and you want to seek much classes like watercolor, guache, design, drawing,… they are inside Skillshare, and you can try free for some weeks with my link